Artwork Guide.
How to set up your stickers artwork
Here’s the basics!

Size
Make sure your artwork is sized to the correct proportion of your chosen products.

Bleed
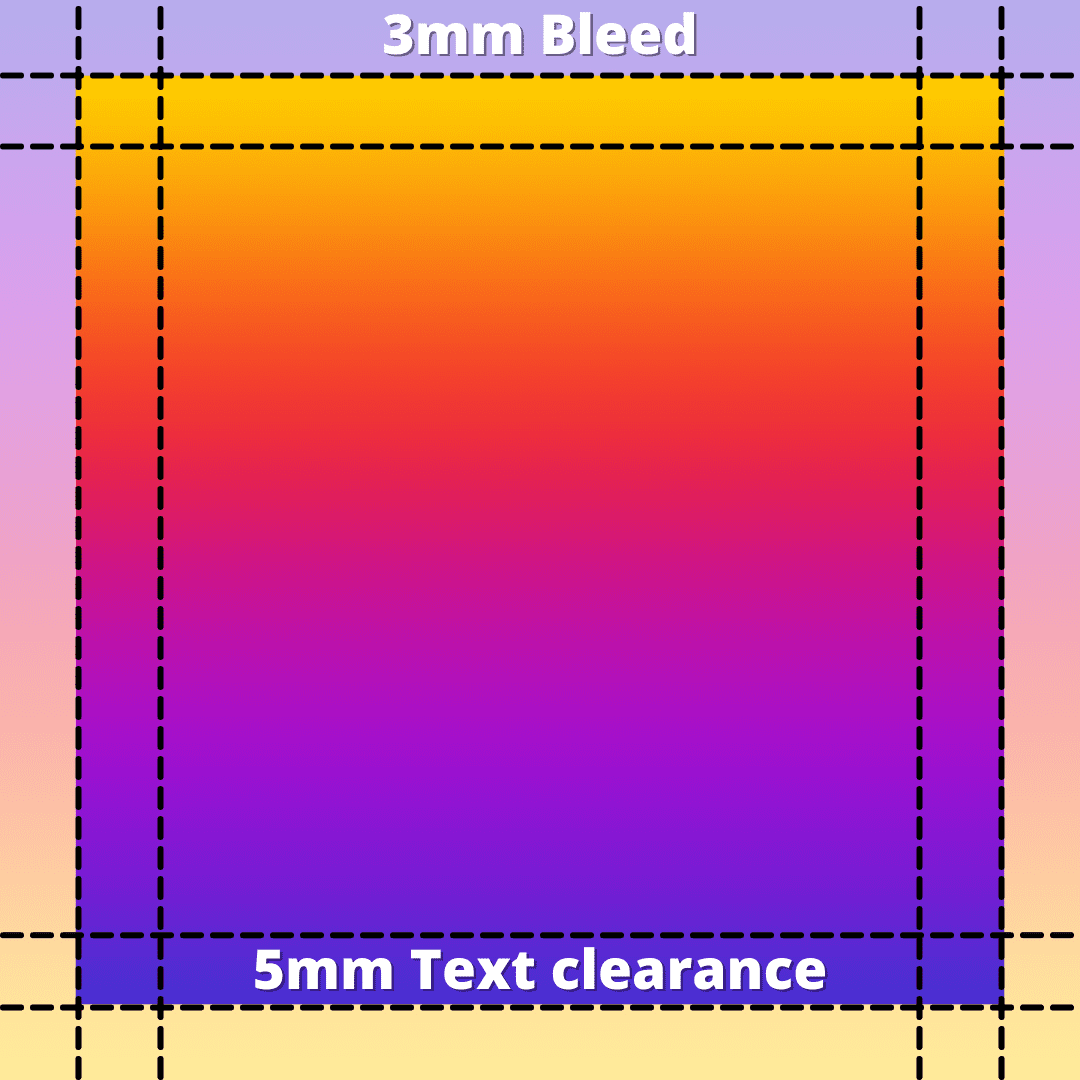
Your artwork will need to have the correct amount of bleed to ensure there are no white spaces on your finished product.

Resolution
To ensure your order has the best results, artwork must be sent at a minimum of 300 dpi resolution.
Colour
Make sure your artwork is set to the correct colour scheme. Our printers use a RGB colour scheme.

Size
Make sure your artwork is sized to the correct proportion of your chosen products.

Bleed
Your artwork will need to have the correct amount of bleed to ensure there are no white spaces on your finished product.

Colour
Make sure your artwork is set to the correct colour scheme. Our printers use a RGB colour scheme.

Resolution
To ensure your order has the best results, artwork must be sent at a minimum of 350 dpi resolution.
Still not sure if you’ve set your artwork correctly? Send us an email at info@zingdp.com and we’ll have a look at it for you!
What is Bleed?
Your artwork’s bleed extends past the edge of the label or sticker. This is usually the background of your artwork and is trimmed during the printing process.
Why is bleed necessary?
Having bleed on your artwork means that your finished product will have no white edges. This helps to ensure the design is kept right to the edge of the label, sticker or poster if there is any slight regular movement during the printing process.
How much bleed should I add?
We ask that you add an extra 3mm of bleed past the edge of the label to make sure your product prints successfully.
How can I set up bleed?
Most standard design tools have an option to set bleed on a design. However, other design programs such as Photoshop don’t have this type of feature. Another way to set up bleed is to make your artwork’s design larger by 3mm on each side manually.
We recommend Adobe Illustrator –
If you are using Adobe Illustrator Choose 100% Cyan for the colour of the line and select Create New Swatch.
Name the swatch CutContour and save the colour type as Spot Colour.
Set the line thickness to Stroke 0.25 pt.
File Format
We accept a wide range of file formats for upload. Here’s the most popular files that we accept:

Resolution
When uploading your artwork, we require that you upload it at the highest resolution as possible. With large scale prints (e.g. posters and roll up stands) a minimum of 300dpi (dots per inch).
Print Ready
This photo has been developed at of 300 dpi. As you can see, this photo will produce a clear, high quality print at any size. Uploading your artwork at this resolution will improve the turnaround of your order!
Not Print Ready
This photo has been developed at a resolution of 100 dpi. As you can see, this photo will look very blurry when printed. Uploading your artwork at a low resolution will elongate the turnaround of your order!
